Download Ledger Live Linux | Setup and Install Guide
Get Ledger Live on Linux today. Download the official app for Ubuntu or Debian. Follow our simple Linux setup guide and start managing your crypto securely. Install now.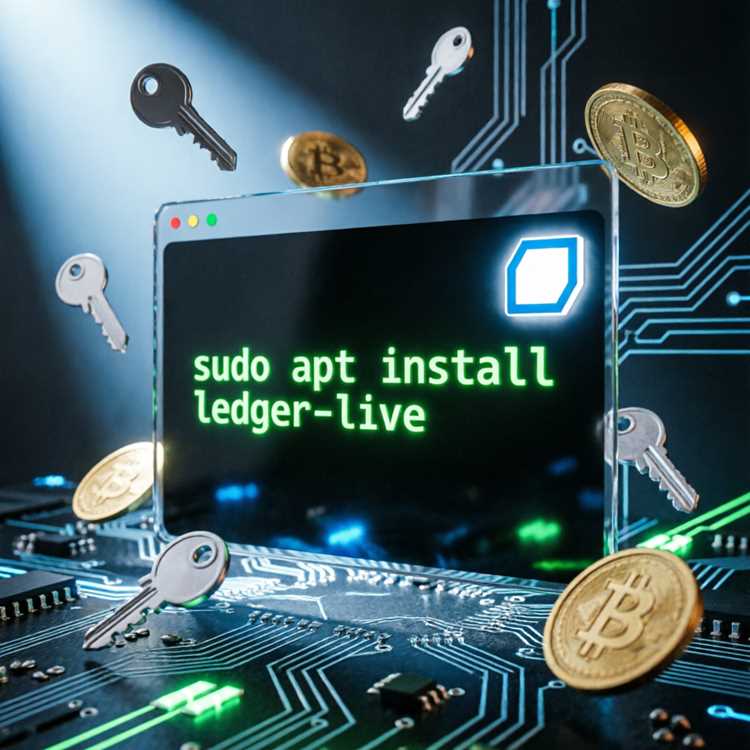
Why Linux Users Need a Dedicated Crypto Management Tool
Managing digital assets on Linux can feel like a puzzle. Many crypto apps skip Linux support entirely. This leaves users with limited options. A proper solution must work with your system. It should also keep your private keys safe. Getting the Ledger Live on Linux download is the answer for many. This tool bridges the gap between your hardware wallet and your OS. It lets you check balances, send funds, and stake coins. Without it, your Ledger device is just a paperweight. Linux users deserve the same ease as Windows or macOS. So how do you start? This guide covers every step.
For those new to cold storage, think of it as a vault. You hold the keys. No third party has access. Ledger Live mobile app extends this control to your phone. On a desktop, the Linux version provides similar power. You can manage over 5000 coins and tokens. Install it on Ubuntu, Fedora, or Arch. The process is direct with no bloatware. Our focus is on a clean, stable setup. We avoid unnecessary dependencies. You deserve a tool that respects your privacy and your OS preferences.
System Requirements for Running Ledger Live on Linux
Before you begin the Ledger Live Linux download, check your hardware. A computer with at least 2 GB of RAM works. Storage needs are small, around 500 MB. Your CPU should be dual-core or better. These specs fit most modern Linux machines. Older laptops from 2015 can run it just fine.
Supported Linux Distributions
Ledger Live supports several major distributions. Ubuntu 20.04 LTS or newer is fully tested. Fedora 36 and later versions also work. Debian 11 and 12 are compatible. Arch Linux and Manjaro have community support. The official Ledger Live Linux download comes as an AppImage. This format runs on almost any distro. No need to hunt for package managers.
Hardware Wallet Compatibility
All Ledger devices pair with the Linux app. Nano S, Nano X, and Nano S Plus all connect. A USB port is required for initial setup. Bluetooth works on Nano X after pairing. The app detects your device automatically. Make sure your cable supports data transfer, not just charging.
Internet and USB Permissions
A stable internet connection is needed for blockchain sync. USB access requires user permissions on Linux. You might see a permission denied error. Fix this by adding your user to the plugdev group. We cover this step later. Without proper permissions, the device won't connect.
How to Download the Official Ledger Live AppImage
Downloading the correct file prevents headaches. Only use the official Ledger website. Avoid third-party sources or random GitHub repos. The Ledger Live Ubuntu install process starts with this single file. An AppImage bundles everything you need. No libraries to install manually.
Step by Step Download Process
- Open your browser and go to ledger.com/live.
- Click the Linux download button. It shows an AppImage file.
- Save the file to your Downloads folder.
- Wait for the download to finish. File size is about 150 MB.
- Verify the checksum if you want extra safety. Ledger provides SHA256 hashes.
Making the AppImage Executable
Linux will not run the file by default. It needs execute permission. Open your terminal. Navigate to Downloads. Run chmod +x ledger-live-desktop-*.AppImage. This command makes it executable. Double click the file to launch. The Ledger Live Linux setup then begins with a welcome screen.
Alternative Installation via Snap
Some users prefer package managers. Ledger offers a Snap package. Run sudo snap install ledger-live. This installs the app with automatic updates. The Snap version works on Ubuntu and other Snap supported distros. It isolates the app from your system. This reduces conflicts with other software.
Installing Ledger Live on Ubuntu Using APT Repository
Ubuntu users have an extra option beyond AppImage. The Ledger Live Ubuntu install can use an official APT repository. This method integrates with your system updates. You get notifications when a new version is ready. It feels more native.
Add the Ledger Repository
Open a terminal. Add the Ledger GPG key first. Run wget -q -O - https://repo.ledger.com/public.key | sudo apt-key add -. Next add the repository. Use sudo add-apt-repository "deb https://repo.ledger.com/apt/ stable main". Update your package list with sudo apt update.
Install the Package
Installation is one command. Run sudo apt install ledger-live. The system downloads and sets up the app. It places files in standard locations. You can launch it from the applications menu. This method avoids the manual permission step for the AppImage. It also handles dependencies like udev rules.
Uninstalling the AppImage Version
If you switch from AppImage to APT, remove the old file. Delete the AppImage from Downloads. Remove any desktop shortcut you created. Check for leftover configs in ~/.config/Ledger Live. You can keep these files. They store your account data and preferences. The APT version reads them automatically.
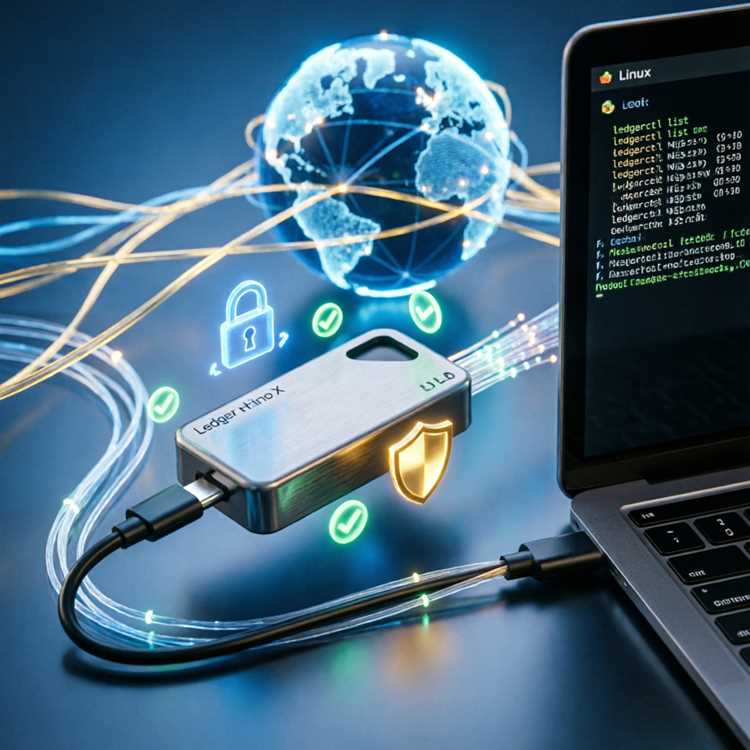
Setting Up USB Permissions for Ledger Devices
Linux security policies restrict USB access. Your Ledger device will not appear without the right rules. The Ledger Live Linux setup includes a guide for this. But doing it manually ensures it works. This step is critical for the first connection.
Install udev Rules
Download the official udev rule file. Run wget -q -O - https://raw.githubusercontent.com/LedgerHQ/udev-rules/master/20-hw1.rules | sudo tee /etc/udev/rules.d/20-hw1.rules. This file tells Linux to trust Ledger devices. Reload the rules with sudo udevadm control --reload-rules. Then plug in your device.
Add User to the plugdev Group
Some distributions require this step. Run sudo usermod -a -G plugdev $USER. Log out and log back in. This grants group permissions. Without this, the app might detect the device but fail to communicate. Test by opening the app and connecting your wallet.
Verify Device Connection
Open the Ledger Live app. Go to Manager. If you see "Not connected," troubleshoot. Try a different USB port. Use a USB 2.0 port if 3.0 causes issues. Some cables are charge only. Swap to a data cable. Reboot your system if problems persist.
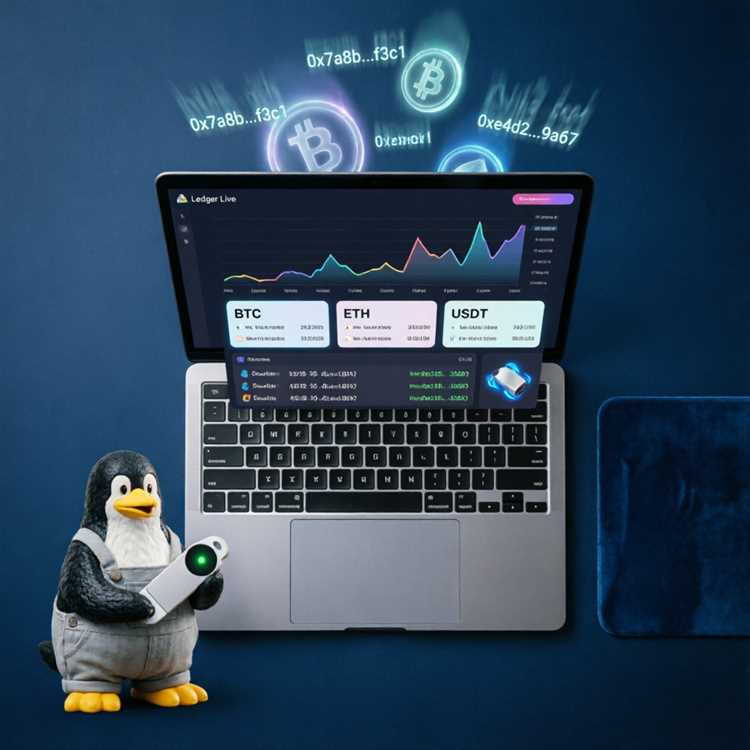
Navigating the Ledger Live Interface on Linux
Once installed, the app opens to a clean dashboard. The Ledger Live app Linux interface mirrors the Windows version. It has four main sections: Portfolio, Accounts, Send/Receive, and Manager. Each tab serves a specific function. You can switch between them with one click.
Portfolio Overview
This tab shows your total balance across all assets. It displays a graph of value over time. You see individual coin percentages. Click a coin to see its transaction history. This is the first screen you see after setup. It gives a quick snapshot of your holdings.
Account Management
The Accounts tab lists each crypto you added. You can rename accounts for clarity. Each account shows its public address. You can copy it for deposits. Multiple accounts for the same coin are allowed. This helps organize funds for different purposes. Staking options appear here for supported coins like Tezos or Cosmos.
Manager for Install Apps
Use the Manager to install blockchain apps on your device. Each app lets you manage a specific coin. Bitcoin requires the Bitcoin app. Ethereum needs the Ethereum app. The Ledger Live app Linux Manager shows available apps and storage usage. Your device has limited space. Delete unused apps to free room. The Nano X holds about 100 apps. The Nano S holds around 3 to 5.
Transferring Crypto to Your Ledger Wallet
Funding your wallet is a key step. After the Ledger Live Linux download and setup, you need to receive assets. Sending from an exchange or another wallet requires your public address. This address is safe to share. Transactions require confirmation on your device screen.
Receive Crypto Step by Step
- Open the Ledger Live app. Click Receive.
- Select the asset you want to receive.
- Your public address appears as a QR code and text.
- Copy the address or scan the QR code.
- Paste it into the sending platform.
- Double check the address on your Ledger screen. Confirm it matches.
- Send a small test amount first. Then send the rest.
Understanding Transaction Fees
Fees depend on network congestion. Bitcoin fees are higher than Litecoin. You can choose the fee level in the app. Economy fees take longer. Standard fees clear within an hour. High fees prioritize your transaction. The app suggests a fee based on current conditions. You can override it manually.
Security Checks During Transfer
Your Ledger device shows every transaction detail. Verify the amount and address on the screen. Press both buttons to confirm. This physical confirmation prevents remote hacks. Even if your computer is compromised, the transaction must be approved on the device. This is the core security principle of cold wallets.
Troubleshooting Common Linux Installation Issues
Problems can occur during the Ledger Live Ubuntu install or any distro. Most issues fall into a few categories. Connection problems top the list. Permission errors are common. The app might crash on launch. Each has a simple fix.
AppImage Won't Launch
Ensure the file is executable. Check with ls -l in the terminal. If it does not show "x" permissions, run the chmod command again. Try launching from the terminal. Type ./ledger-live-desktop-*.AppImage. Terminal output may reveal errors. Missing libraries can cause failure. Install FUSE with sudo apt install fuse. Reboot and try again.
Device Not Detected
USB detection fails often. First, confirm your cable works. Test on another computer if possible. Reinstall udev rules. Run sudo udevadm trigger. Restart the app. On some systems, the kernel module hidraw must be loaded. Check with lsmod | grep hidraw. It is usually present by default.
App Crashes on Startup
A corrupted config file can cause crashes. Delete the config folder. Run rm -rf ~/.config/Ledger Live. This resets all settings. Do this only if you can restore your accounts later. Backup your recovery phrase first. After deletion, relaunch the app. It creates fresh config files. Reimport your accounts using the recovery phrase.
Comparison of Linux Installation Methods
Choosing between AppImage, APT, or Snap depends on your needs. Each method has tradeoffs. The table below shows key differences. It helps you decide which fits your workflow best.
| Method | Auto Updates | Dependency Management | File Size | Desktop Integration | Best For |
|---|---|---|---|---|---|
| AppImage | Manual | None required | ~150 MB | Basic | Portability across distros |
| APT Repository | Automatic via apt | Handled by package manager | ~100 MB | Full system menu entry | Ubuntu/Debian users preferring integration |
| Snap | Automatic | Isolated from system | ~200 MB | Full menu entry | Users wanting sandboxed install |
Each method keeps your device secure. The key difference is convenience. AppImage is the simplest for temporary use. APT is best for long term Ubuntu setups. Snap suits users who value isolation.
Ledger Live Features Exclusive to Linux Users
Linux offers unique advantages for crypto management. The Ledger Live app Linux version benefits from the OS flexibility. You can run it alongside other privacy tools. Command line enthusiasts can script automations. Resource usage is lower than on Windows.
Lightweight Resource Profile
Linux uses less RAM and CPU at idle. The app runs smoothly on older hardware. A 2013 ThinkPad can handle multiple accounts. Background processes are minimal. This is ideal for a dedicated crypto machine. You can keep the app open for hours without draining resources.
Integration with Linux Security Tools
You can combine Ledger Live with firewalls like ufw. Restrict the app to specific networks. Use AppArmor to confine its permissions. This adds a second layer of security. Scripts can automate backups of your config files. Cron jobs can check for app updates weekly.
Multisig and Advanced Setups
Linux supports multisignature wallets better than other OS options. Use Electrum with your Ledger for multisig. The app provides the necessary PSBT support. Advanced users can build custom signing environments. This is a power user feature not available on all platforms.
Frequently Asked Questions About Ledger Live on Linux
Does Ledger Live work on all Linux distributions?
It works on most major distributions. Ubuntu, Fedora, Debian, and Arch are supported. The AppImage version functions on any distro with FUSE. Minor issues may appear on less common distros like Solus or Void. Community forums offer fixes for these cases.
Can I use Ledger Live on a Raspberry Pi?
Raspberry Pi runs Linux but performance is slow. The app requires an x86_64 processor. Raspberry Pi uses ARM architecture. No official ARM build exists. You can try running it through emulation. But this is not recommended for daily use. Use a standard x86 computer instead.
Is the Ledger Live Linux download safe?
Yes, when downloaded from the official site. Ledger signs all releases. Verify the GPG signature if you want extra certainty. The app does not send your keys to any server. All private keys stay on your device. The desktop app only shows public data and transaction history.
How do I update Ledger Live on Linux?
For AppImage, download the new file and replace the old one. For APT, run sudo apt update && sudo apt upgrade. For Snap, updates happen automatically. You can also check for updates inside the app. Go to Settings, then About. Click Check for updates. The app downloads the latest version.
What about Ledger Live macOS setup or Windows?
This guide is for Linux. Mac users have a different installer. Windows users can download Ledger Live Windows from the same site. Each platform has its own installation quirks. The core app features are identical across all three.